|
::: SmartXX Version 2 Pinheader-Install :::
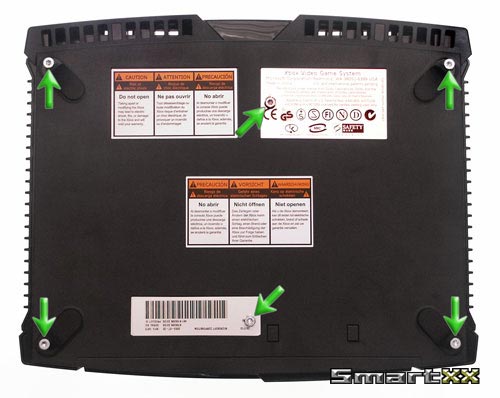
Remove the six screws on the bottomside of your box:
 Unplug the two cables of the harddisk (yellow arrows)
Remove the three screws of your DVD-Drive (green arrows)
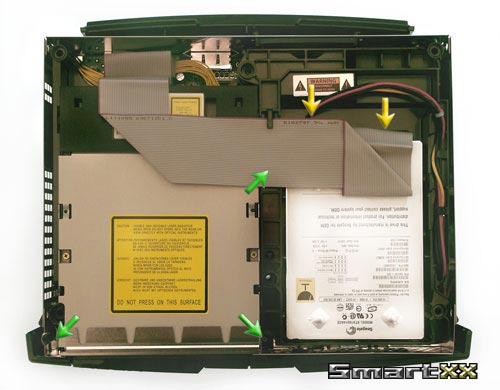 Remove the harddisk carefully
Unplug the two cables of your DVD-Drive (yellow arrows)
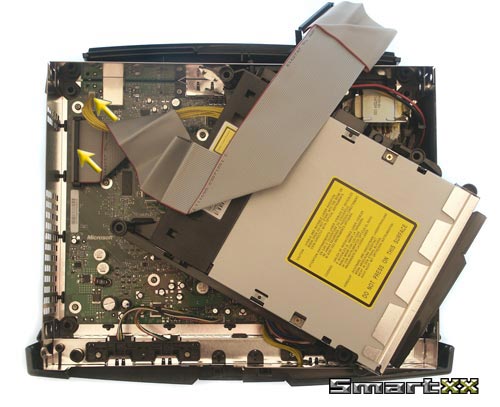 Unplug the five cables (yellow arrows)
(a 1.0 box has a small pcb in front - just unplug the pcb)
Remove the screws of the mainboard (green arrows)
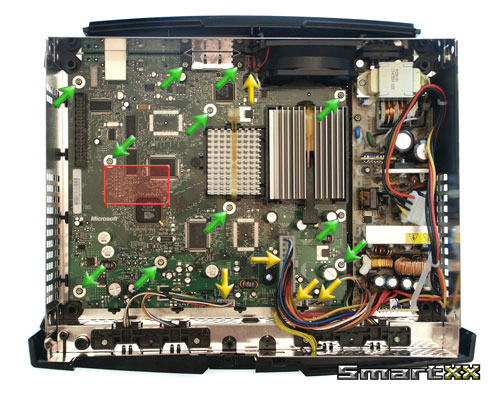 Remove the spare pin of the pinheader
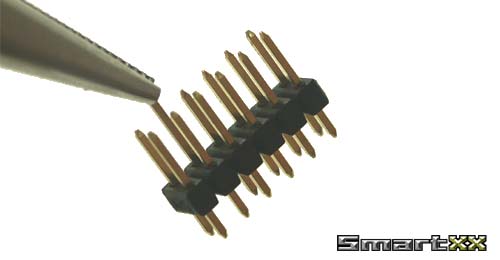
Plug the pinheader into the LPC-Port and solder it on the backside of the board.
(In some older versions you have to desolder the soldering points first )
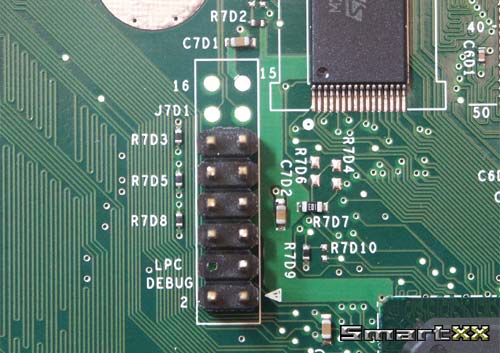
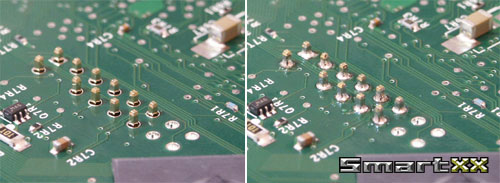
Plug the pinheader into the LPC-Port and solder it on the backside of the board.
(In some older versions you have to desolder the soldering points first )
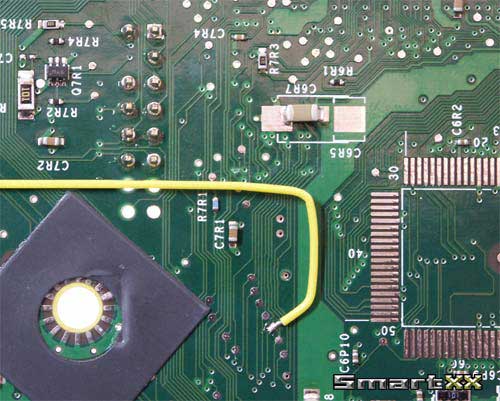
Next solder the D0 point
Attention ! There are two different versions !
D0 point for version 1.0 and 1.1
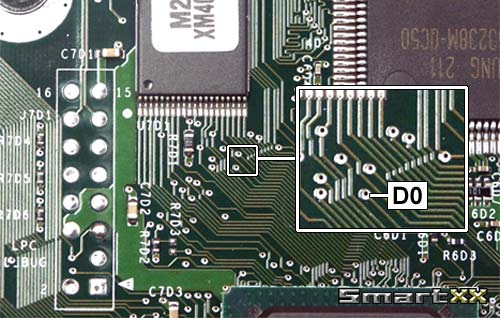
D0 point for version 1.2 to 1.5
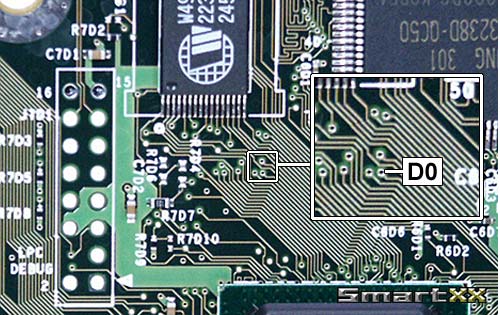
Solder the wire to the D0 point
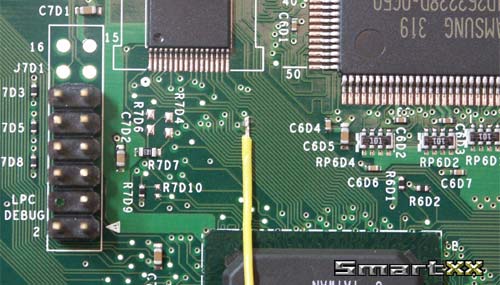 Alternative you can use this D0 point on the bottomside
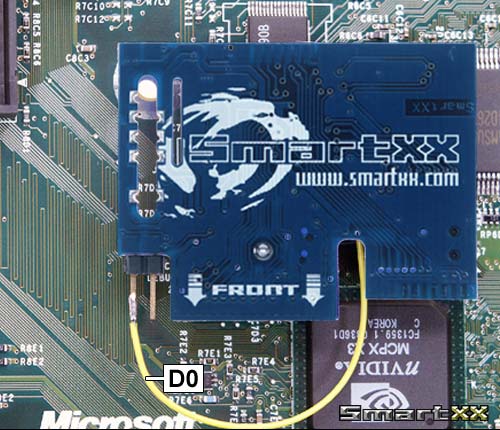
 Now plug your new SmartXX on the pinheader
and solder the D0 wire to the chip.
That´s it !
 If you have a version 1.5 read this !
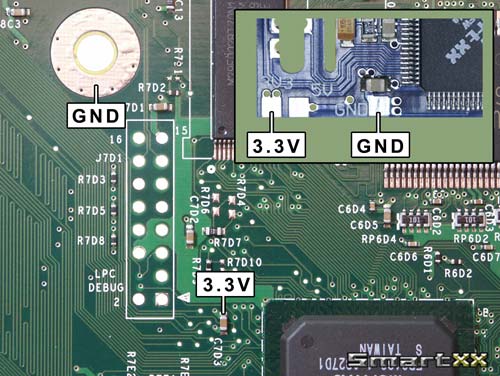
The version 1.5 has no ground and 3.3 V on the LPC-Port !
You have to solder these two wires to the SmartXX
|